
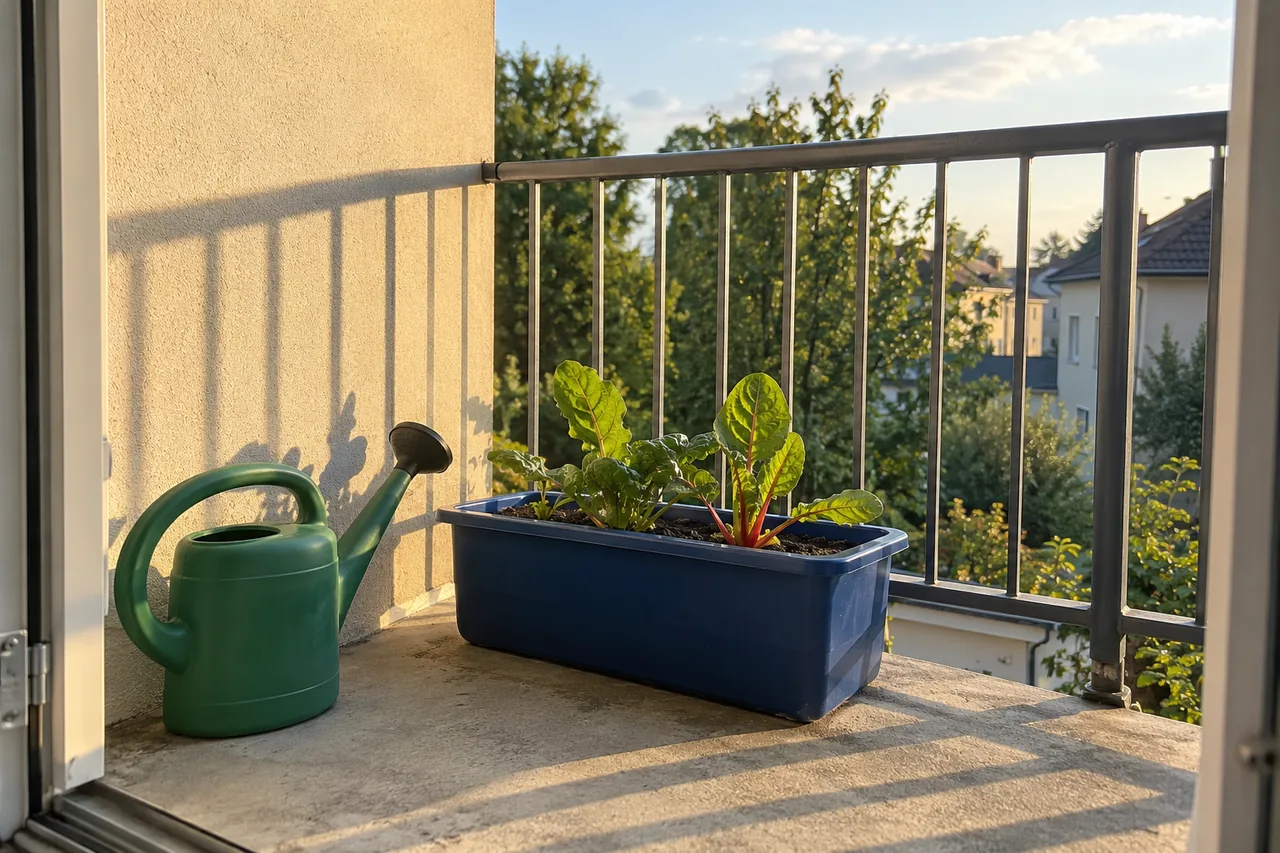
Start a container garden with one accessible pot, a plant suited to its light and a suitable peat-free growing mix. Check drainage and the space for roots before adding more containers.
An empty patio invites a shopping list. Start with a sketch instead. Mark the door, the route you walk and the tap. Then note where the sun actually reaches. A corner that looks bright at lunchtime may spend most of the day behind a fence.
Decide what each pot is for
Give your first containers a job: something to pick for the kitchen, something to enjoy from the window, or a seasonal display beside the door. You can begin with one. There is no need to fill the whole space in a weekend.
For an edible pot, choose an herb you already use. A separate mint pot suits a different watering routine from a sun-loving thyme pot. For colour now, select plants sold for the current season, not tender summer bedding heading into autumn.
Choose from herbs with matching light and water needs, or use a seasonal winter-pot plan for an autumn display.
Check the container before filling it
You need drainage holes, room for the roots and enough space to reach the pot with a watering can. Fewer generous containers usually need less watering than many tiny ones, but a small specimen should not be lost in an oversized volume of wet compost. Choose the pot for the planting you have planned.
Try the empty pot in position. Open the door, walk past with a bag and imagine moving it when full. A container that blocks access will become a daily nuisance. If the spot is a balcony, check the building’s rules and load allowance before adding heavy planters.
When choosing flowering plants, Jenny Hendy recommends specimens in bud or just starting to bloom. She also checks the label for eventual size, light and local hardiness.[1] For an autumn doorstep pot, those details matter more than how full of flowers it looks in the shop today.
A first pot you can copy
For a sunny spot, one common thyme plant (Thymus vulgaris) makes a useful kitchen pot. Plan this example for mid-spring to early summer, when the RHS says thyme settles in best. If you are starting in autumn, choose the winter display above instead of rushing a new thyme planting.
| Part of the plan | What to choose or do |
|---|---|
| Plant | One garden-centre thyme plant labelled for culinary use and suitable for your local winter conditions. |
| Position | A warm, sunny place with room to reach it for watering. |
| Container | For one thyme, the RHS gives a minimum of 15cm wide and 10cm deep, with plenty of drainage holes. If the nursery rootball already fills that size, choose a slightly larger pot. |
| Growing mix | Peat-free soil-based potting compost, with horticultural grit mixed through it, up to 25% of the total volume. Three measures of compost and one of grit make a 25% mix. |
| Planting | Keep the plant at its original growing depth, leave space below the rim for watering, and water slowly after planting. |
| First checks | Feel below the surface before watering again. Newly planted thyme needs attention in dry weather, but do not keep the mix soggy. |
The dimensions and grit proportion come from the RHS thyme-growing guide. The minimum size is a starting point for one small plant, not a reason to squeeze a larger rootball into it.
Plant without rushing the layout
- Buy a peat-free potting mix intended for those plants. Acid-loving plants need a suitable specialist mix.
- Arrange the plants in their nursery pots first. Check the labels for their eventual size and light requirements.
- Remove the nursery pots, settle the rootballs at their original growing depth and fill around them gently. Leave a watering gap below the rim.
- Water the compost slowly after planting. Make sure the container can drain.
Use the first week to learn the pots
Feel below the compost surface before watering. A light shower may wet the leaves while leaving the roots dry. Check each pot separately; the shaded one may still be damp when its sunny neighbour needs water.
Keep the plant labels and compost instructions together. If the first pot stays wet for days, follow the drainage checks before buying another plant. Add the next container once you know how this one fits into your routine.
Sources for these details
- Jenny Hendy, 30 Minute Gardening, Dorling Kindersley, 2012, p. 9.