
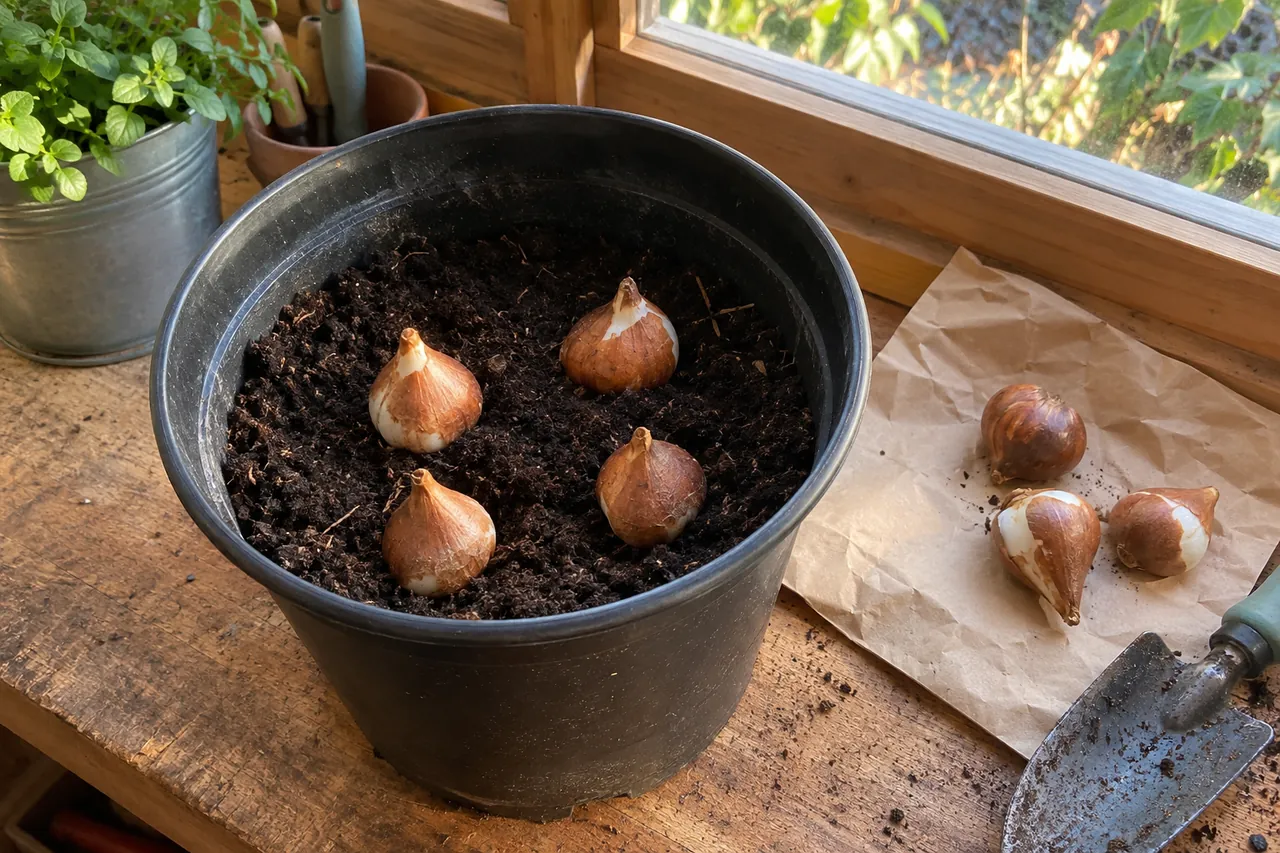
A pot of bulbs gives a small garden a spring display without finding space in a border. You can plant one type and keep the job simple. For layers, plan flowering time and planting depth before filling the container.
Choose the bulbs and the date together
Check each packet’s planting and flowering information. The RHS recommends early autumn for many spring bulbs, preferably by the end of September for daffodils, crocuses and hyacinths, and November for tulips. If you have missed the earlier window, plant sound bulbs promptly rather than storing them until next autumn. Discard soft or rotten ones.
Write the variety names on a label now. A photograph of the packets is useful when you want to compare what flowers next spring. Mixed bulb bags without clear information make it harder to plan successive blooms.
One type repeated, or several layers?
Monty Don suggests planting one bulb type in repeated small pots instead of making every pot a mixed display. His advice is to “make it simple and repeat it!”[1] For a small patio, we would choose this when moving and rearranging the pots matters more than fitting everything into one container. Each pot still needs enough depth for its bulbs; “small” does not mean a shallow dish.
Plant a simple pot
- Choose a container with open drainage holes and a mix suited to the bulbs. For a one-season display, the RHS suggests three parts peat-free multi-purpose compost to one part horticultural grit. Set it where the bulbs’ light requirements can be met.
- Add compost beneath the bulbs so the roots have room. Use the packet’s depth guidance for a single-type planting, with the pointed end of true bulbs upwards. Do not substitute one depth for every species: crocus corms and tulip bulbs need separate checks.
- Arrange the bulbs, cover with compost and leave a gap below the rim for watering. Water to settle the mix, then allow it to drain.
- Label the pot and check it through winter. Keep the contents from becoming waterlogged.
A first pot to copy: nine white crocuses
Use nine Crocus ‘Snow Bunting’ corms, about 2cm high and no more than 2cm wide, in a pot at least 20cm across inside at the planting level and 25cm deep inside. This count is a modest planting suggestion, not an RHS recipe. Use the three-to-one compost-and-grit mix above; the peat-free compost guide explains what to check on the bag.
Leave the final compost surface 2cm below the rim. Place the flat corm bases 9cm below that surface, pointed ends up: a 2cm-high corm then has 7cm of compost over its tip. Arrange one centrally and eight in a loose ring, leaving at least 2cm of clear compost between neighbouring corms and space from the pot wall. Water to settle, let it drain and put the pot in a sunny outdoor spot.
The RHS crocus guide gives 7–12cm for container planting; the base and tip depths in this measured example both fall within that range. ‘Snow Bunting’ has white flowers from late winter into spring. Check your actual corms and their packet before copying the measurements.
If you want a layered display
Use a large pot, around 30cm wide and deep or more. RHS suggests larger, later-flowering bulbs below smaller, earlier ones: late tulips, then early miniature daffodils, with small early bulbs such as crocuses above if there is room. Match the varieties rather than relying on their common names to predict exact flowering dates.
Sketch the layers with their required depths. Leave enough compost below the lower layer and above the upper one. If your chosen bulbs cannot fit at suitable depths, use fewer layers or separate pots. The nickname “bulb lasagne” does not mean every combination belongs in one container.
A two-layer example, measured from the final surface
Choose a straight-sided pot with open drainage holes, at least 30cm wide inside at both planting levels and 30cm deep inside. Use seven Tulipa ‘Queen of Night’ bulbs below nine Crocus ‘Snow Bunting’ corms. This example assumes tulips 4–5cm high and no more than 4cm wide, with crocus corms about 2cm high and no more than 2cm wide. A tapered pot may need a wider rim to provide that space lower down.
| Layer | Base below surface | Compost over tip | Layout |
|---|---|---|---|
| Upper:9 ‘Snow Bunting’ crocuses | 9cm | 7cm for 2cm-high corms | Leave at least 2cm between corm edges; place them above gaps in the tulip layer. |
| Lower:7 ‘Queen of Night’ tulips | 15cm | 10–11cm for 4–5cm-high bulbs | One central bulb and six around it, about 12cm centre-to-centre; at least 8cm between 4cm-wide bulb edges. |
- Mark the planned compost surface 2cm below the rim. All base depths in the table are measured down from that level, not from the rim.
- Add 13cm of compost mixture to the bottom of the 30cm-deep pot. Set the tulips on this layer: their bases will be 15cm below the planned surface. Arrange and cover them completely.
- Fill to 9cm below the planned surface. For the assumed tulip heights, this leaves 1–2cm of compost above their tips. Place the crocus corms here, keeping their gaps and positioning them over spaces between tulips.
- Cover to the planned surface, keeping the 2cm watering gap. Water to settle, let the pot drain and stand it outdoors in sun and shelter from strong wind.
The RHS ‘Queen of Night’ profile gives 10–15cm planting depth; both its base and tip depths here fit that range. The crocuses flower first in late winter or early spring, followed by the dark tulips in late spring, with a possible gap between the displays. These quantities are a calculated example, not a guarantee of continuous flowers or repeat performance for years.
Plant during autumn using the packet dates. The RHS tulip growing guide allows September to November, although its general bulb advice prefers November for tulips and earlier autumn for crocuses. Separate pots make those preferred timings easiest. If your bulbs, packet depths or pot taper do not fit this mixed example, keep the types in separate pots.
Keep this outdoor method separate from forcing bulbs indoors. Wes Hunsberger’s layered pots in Organic Gardening are prepared for a cool rooting period and then brought into a cool, sunny room.[2] That is a different project; there is no need to copy its chilling schedule for a pot staying on your patio.
After the flowers
Remove faded tulip or daffodil flower heads; crocuses do not need deadheading. Let all the leaves die down naturally; they still need light while they replenish the bulbs. A tightly packed display may flower less well in later years, so decide whether to move suitable bulbs to a border or renew the pot. Keep it out of a full saucer, and check the drainage route if rain leaves the compost sodden.
For colour before the spring bulbs open, see the winter container plans. Keep ornamental bulbs labelled and separate from food; wear gloves when handling bulbs, particularly tulips and daffodils, which can cause skin irritation.
Sources for these details
- Monty Don, Gardening at Longmeadow, BBC Books / Ebury Publishing, 2012, November, “Winter pots”, pp. 310–311.
- Wes Hunsberger, “Forcing Bulbs in Pots”, Organic Gardening, 2011, October/November, vol.58 no.6, p. 20.