
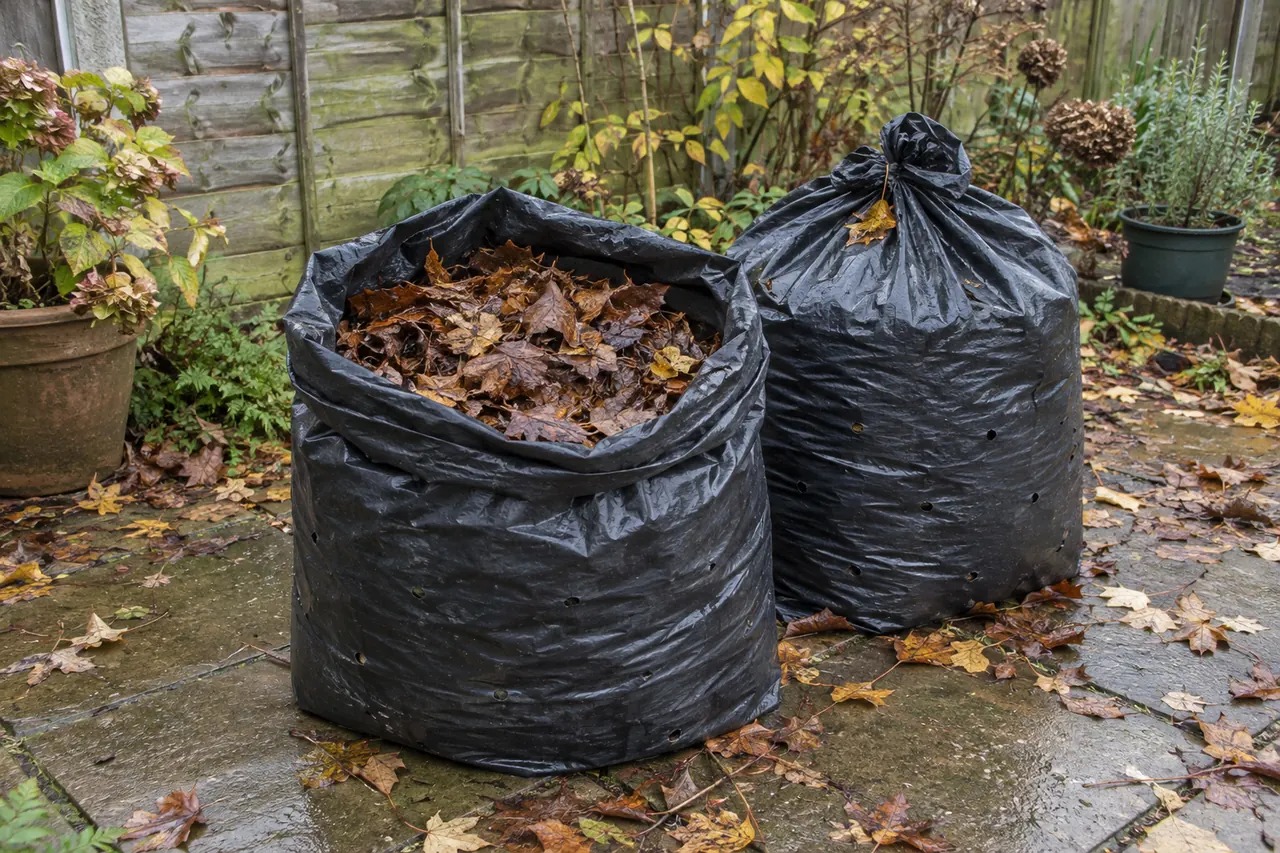
Make leaf mould by keeping fallen autumn leaves damp in a loosely tied bag with air and drainage holes. Allow roughly one to two years for usable mulch; finer material for a potting mix may need longer.
A leaf bin takes up space. A bag can sit in a spare corner while the leaves inside slowly break down. Start with the leaves you need to clear from paths and the lawn.
Leaf mould helps soil hold moisture and improves its structure. It is low in nutrients, so use it as a soil conditioner or mulch rather than a complete feed for your plants.
Which leaves should you collect?
Fallen leaves from deciduous trees are a good starting point. Thick, leathery leaves take longer to break down; shredding them helps. Keep evergreen clippings out of this batch and compost them separately.
Oak, beech and hornbeam leaves break down readily. The RHS recommends shredding slower leaves such as sycamore, walnut, horse chestnut and sweet chestnut. Pick out litter, plastic and any fruits or seeds before bagging the collection.
Leave woodland leaves where they are. Keep the layer under hedges too: it feeds the soil and may shelter hibernating hedgehogs. Leaves from beside busy roads are best avoided.
Fill and store the bags
Gather a sturdy reusable bag, fallen leaves and some water. An old compost bag can do the job if it is still sound.
- Pierce a few holes in the sides and bottom of the bag so air can get in and excess water can drain.
- Fill it with leaves. Shredding them first helps them break down faster, but whole leaves will work if you can give them more time.
- If the leaves are dry, dampen them and mix them through. Check a handful from the middle of the bag as well as the top.
- Tie the top loosely and put the bag in a cool, shady spot out of the way. Mark it with the month and year so you can tell older batches from new ones.
You can make leaf mould with leaves and moisture alone. There is no need to add kitchen scraps to this bag.
Ken Thompson explains why a bag works: fungi do much of the breaking down, and the sack helps leaves stay moist in dry weather.[1] A wire cage is another way to contain them, but it may need watering. You are choosing a convenient place to keep damp leaves, not buying an essential composting device.
How long will it take?
Allow roughly one to two years. The leaves you use, whether they are shredded and how damp they stay all affect the result. RHS adviser Andy Vernon reports that shredded leaves can produce usable material in six to twelve months, but that is a possibility rather than a deadline.
Doug Hall’s Organic Gardening article shows a batch of oak, maple and linden leaves collected in November 2010 and photographed as leaf mould in July 2011.[2] That was a substantial wire-bin batch, not a British bag trial. Use it as an example of what can happen, rather than a promise that your bags will be ready by July.
Look at the contents when you open the bag. Young leaf mould still has recognisable pieces of leaf, but breaks apart easily in your hand. Well-rotted material is dark and crumbly, with little sign of the original leaves.
Put it to use
Use the younger, coarser material as a mulch around established plants or to cover bare soil over winter. Finer, well-rotted leaf mould can go into a suitable homemade potting mix. It does not replace every ingredient in a bag of potting compost.
For sowing or potting, judge the texture as well as the label date: the RHS describes well-rotted leaf mould as more than two years old. A younger bag can still be useful mulch. Leaf mould may contain weed seeds, so avoid a seedy batch where new weeds would be difficult to manage. For container planting, use a mix suited to the plants.
If the leaves have hardly changed
Check the moisture first. Dry leaves need dampening; a wet, tightly packed mass needs loosening and better drainage. Make sure the holes are clear. Tough whole leaves may simply need longer.
If most of a batch is ready, take the usable material and return intact leaves to break down further, as Hall suggests. Keep the month-and-year label with the unfinished batch. For other scraps, use a garden compost bin rather than adding them to the leaf bags. Check which scraps belong in that bin before mixing a new batch.
Sources for these details
- Ken Thompson, Compost: The Natural Way to Make Food for Your Garden, DK Publishing, 2007, p. 93.
- Doug Hall, “As Easy as Leaf Mold”, Organic Gardening, 2011, October/November, vol.58 no.6, p. 21.