
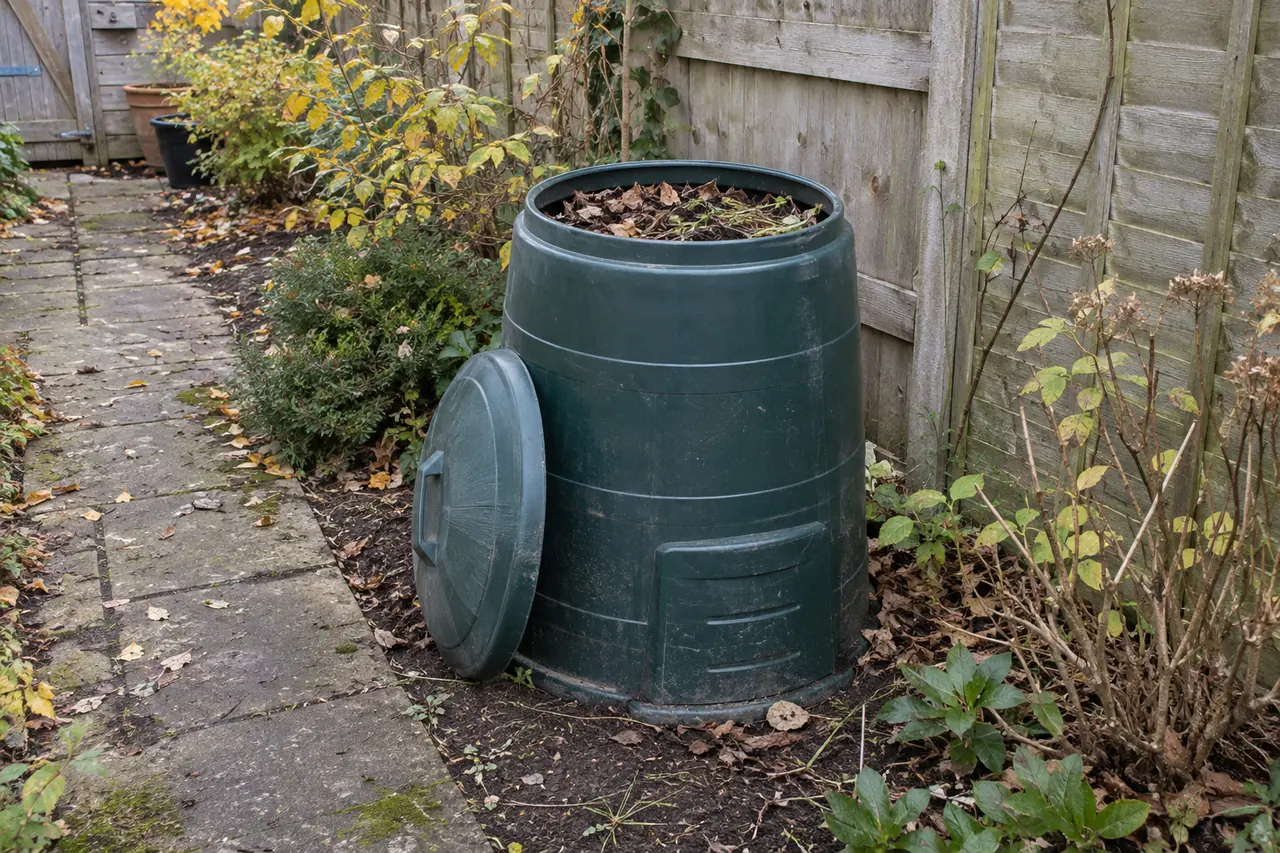
A small garden can use a compact compost bin, a wormery or a specialist food-waste system. Choose by the scraps you produce, the care you can give it and the room needed to fill and empty it.
Before buying a compost bin, have a look at a week’s worth of scraps. A few vegetable peelings need a different setup from a lawn’s worth of clippings. Then walk outside and check where you could comfortably fill, mix and empty a container.
Match the system to your scraps
| What you have | Where to start | Check before choosing |
|---|---|---|
| Soft garden waste, raw fruit and vegetable scraps, and some cardboard | A compact conventional compost bin. | Leave access to the lid and room to remove the finished material. Keep a supply of dry browns beside it. |
| Mainly small, regular amounts of kitchen scraps | A wormery, if you can look after the worms and protect them from temperature extremes. | Plan small, regular feeds; it is not a way to dispose of a full lawn cut at once. |
| Cooked food as well as garden waste | A specialist system designed for it. Check the accepted materials and maintenance before buying. | Check whether it produces finished compost or needs a second stage, as bokashi does. |
| No workable space for a container | Check which food or garden waste collections your council offers and what they accept. | Check the accepted items and container rules locally; a home-composting list does not apply automatically. |
A wormery needs composting worms, rather than ordinary earthworms dug from a border. Add small amounts of suitable food often, and pause if the previous scraps are still uneaten. It cannot handle a large load of woody prunings or lawn clippings.
Bokashi is another option for food scraps, but the bucket only ferments them. You still need somewhere for the treated material to finish breaking down, such as a compost bin or a suitable soil trench. Work out that second stage before buying the bucket.
You can compost on a patio
Bare soil is a useful base for an ordinary compost bin because it provides drainage and access for soil organisms. A paved garden can work too: the RHS composting guide allows a hard base and suggests adding a few spadefuls of soil to get started. The bin must still drain and admit air.
Choose an accessible, sheltered spot away from watercourses. The RHS recommends partial or full shade. Check that the lid opens properly and that you can reach the contents without climbing over pots.
Before ordering, mark out the manufacturer’s stated footprint with newspaper or cardboard. Leave room to work beside it. A bin that fits into a gap may still be awkward to empty.
Getting an ordinary bin started
Mix soft green material with drier browns such as torn cardboard and chopped stems. Garden Organic suggests roughly equal volumes as a starting point. Keep a small supply of browns nearby so a bucket of peelings does not become a wet layer on its own.
For example, mix a 2-litre caddy of suitable peelings with about 2 litres of loosely crumpled paper or card, rather than packing it flat. This illustrates the volume balance, not a recommended bin size. Check the ordinary-bin ingredients list before adding unfamiliar waste.
Chop bulky material and mix ingredients as you add them. Keep the lid on to exclude heavy rain, and check the contents when you stir them. If the mixture is soggy, add dry material. If it is dry, dampen it.
A useful moisture check is to squeeze a small handful while wearing gloves: it should feel damp like a wrung-out sponge. Take the sample from the older mixture, not just yesterday’s peelings. Garden Organic’s practical compost guide uses this check; it is a guide to feel, not a reason to measure out a fixed amount of water.
Keep meat, dairy and cooked meals out of an ordinary cool compost bin. A specialist hot system may accept them, but its instructions matter. The ingredients list for one system does not apply to every other bin.
An add-as-you-go option
For small, regular additions of soft waste, Ken Thompson describes the Centre for Alternative Technology’s high-fibre method. Combine roughly equal volumes of green waste and crumpled plain paper or card. Egg boxes and cardboard tubes give the mix some shape; a flat stack of paper will not do the same job.[1]
In a working bin, the fresh material sits above a worm-rich active layer, with maturing compost below. Thompson leaves this arrangement unturned. When emptying, keep the unfinished top and active layer for the next batch. That advice belongs to this method: a wet, compacted bin still needs attention. Check the compost problem guide if the contents smell or stop changing.
Make room for the finished batch
One bin can be enough. For a mixed batch that you leave to mature, decide where new scraps will go after you stop adding. In the high-fibre system above, keep unfinished material when you empty the bin instead of treating everything as ready together. Either way, arrange the next batch before the container overflows.
Small bins work more slowly, especially in winter. Look for dark, earthy-smelling compost with most of the original ingredients broken down. Return large unfinished pieces to the next batch. Use the finished material on your garden soil; homemade garden compost is one ingredient in a potting mix, not a ready-made replacement for every bagged growing medium.
Once the batch is dark brown and earthy-smelling, Garden Organic recommends another month or two for it to mature before use. A few twigs or eggshell pieces do not rule out useful compost. Give a large autumn collection of leaves its own leaf-mould bags so it does not overwhelm the regular mix.
Keep a box of suitable dry card within reach. A simple system is much easier to maintain when the next addition is ready beside the bin.
Sources for these details
- Ken Thompson, Compost: The Natural Way to Make Food for Your Garden, DK Publishing, 2007, pp. 66, 73–74.